Concrete driveways will crack. Properly placed control joints determine where cracks form, so they remain straight, narrow, and invisible. The Denton, TX standard for residential concrete driveways is sawcut control joints with a maximum spacing of 10 to 12 feet, a depth equal to 25 percent of the slab thickness, and isolation joints at every fixed boundary. Skip these details, and the cracks wander randomly across the slab, ruining curb appeal and shortening service life.
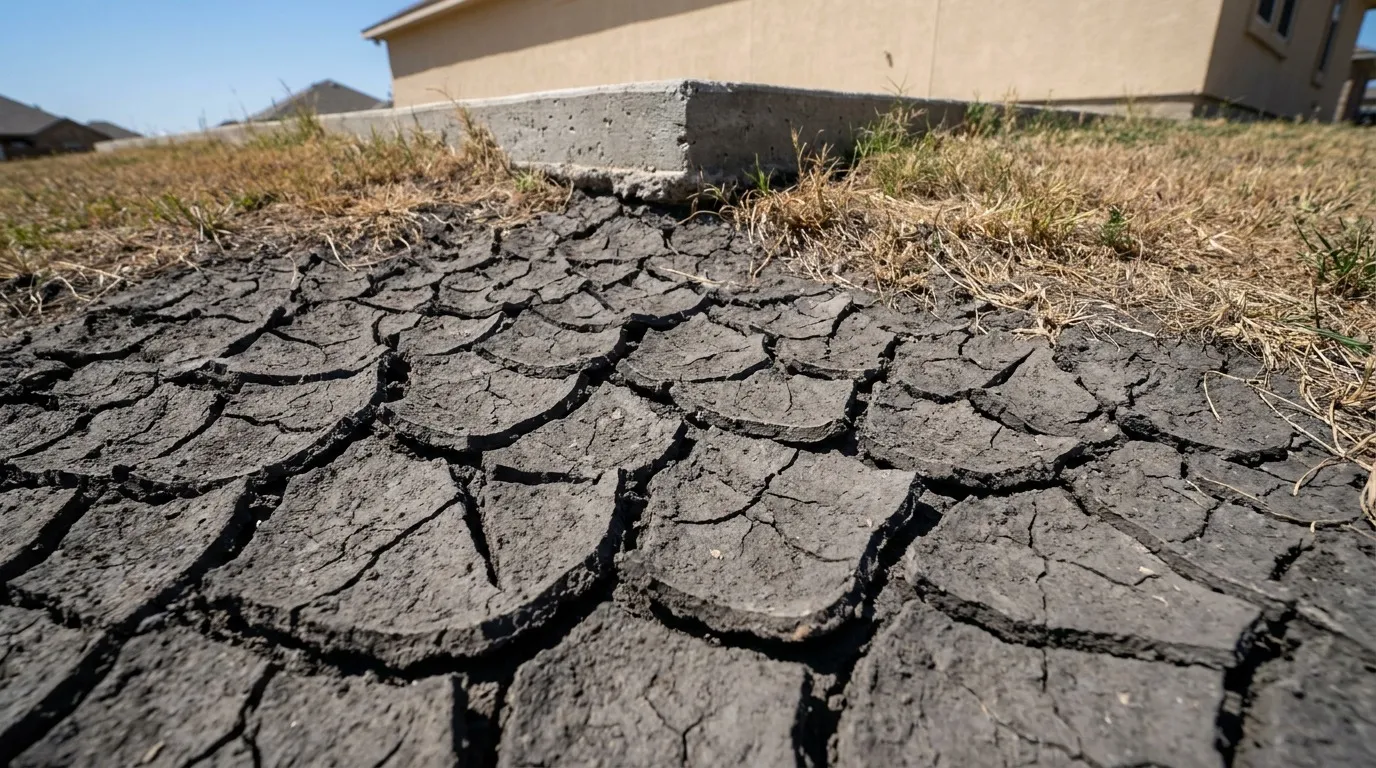
Every homeowner planning a concrete driveway in Denton wants the same thing: a flat, crack-free slab that lasts decades. There is a hard truth behind that wish. Concrete does crack. It cracks because cement-and-water chemistry causes microscopic shrinkage during curing. It cracks because temperature changes expand and contract the slab. It cracks because North Texas clay subgrades shift through wet and dry cycles. The question is not whether concrete will crack. The question is where.
Control joints and expansion joints are the answer to that question. They are deliberate weak lines, planned and installed by the contractor, that indicate where the slab will crack. When properly placed, those cracks happen below the joint surface and stay hidden, leaving the slab top looking continuous and clean. When skipped or poorly placed, the slab cracks wherever stress finds a weak spot, often in straight lines across the driveway face that ruin the appearance and become entry points for water and freeze-thaw damage.
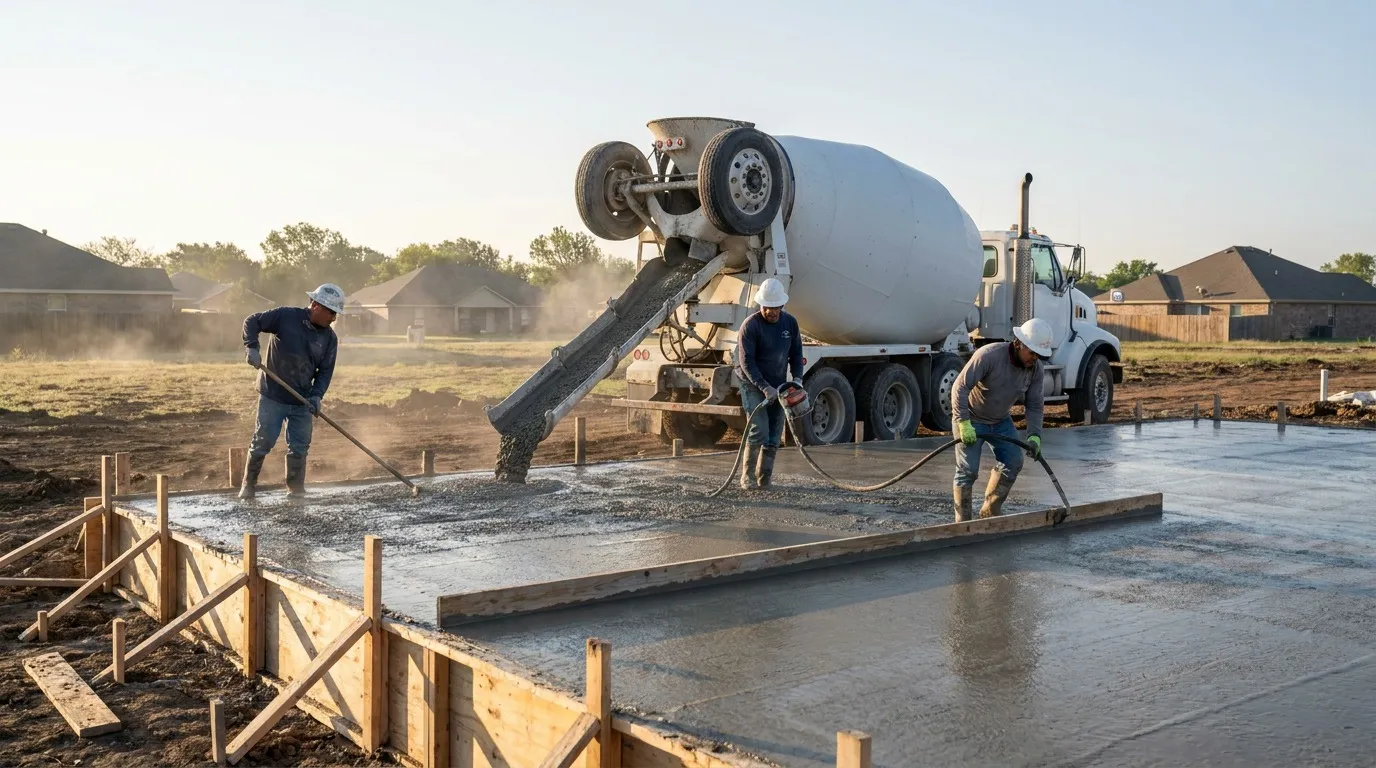
Concrete shrinks. Always. As soon as fresh concrete is placed, water begins evaporating from the surface, and water of hydration is consumed by the cement chemistry. The result is volumetric shrinkage of approximately 0.04 to 0.06 percent of the slab dimensions in the first 30 days, plus additional smaller shrinkage over the following year.
On a 30-foot-long driveway slab, 0.05 percent shrinkage equals roughly 3/16 of an inch over the length. That movement does not happen evenly. The slab is anchored at certain points (the connection to the garage and the edges that bond to the subgrade) and is free at others. The differential creates tension stresses, and when those stresses exceed the tensile strength of the green concrete, the slab cracks to relieve them.
The same forces play out throughout the slab's life every time temperature changes. A 100-foot driveway will expand and contract by approximately 1/2 inch over the Denton temperature swing, from a January morning at 20 degrees to a July afternoon at 105 degrees. That movement has to go somewhere.
Three distinct joint types serve different purposes in a residential concrete driveway. Each one is a planned discontinuity in the slab that allows movement without uncontrolled cracking.
Control joints, sometimes called contraction joints, are intentional weak lines created on the slab surface to direct shrinkage cracking. The slab is poured continuously, but the control joint is either sawcut into the cured surface or tooled into the wet concrete during finishing. When the concrete shrinks and stress builds, the slab cracks directly below the joint, where the cross-section is reduced, and tensile strength is lowest.
The control joint does not stop the crack. It directs where the crack happens. A properly placed crack runs below the joint surface and remains invisible from above. Control joints are the workhorse jointing system on residential driveways.
Expansion joints, more accurately called isolation joints in modern practice, separate the driveway slab from fixed structures and adjacent slabs. The joint contains a compressible filler material (1/2-inch closed-cell foam, fiberboard, or pre-molded asphaltic strip) that absorbs slab movement when the concrete expands.
Expansion joints are placed at every location where the driveway slab meets a structure that cannot move with it:
Construction joints are placed where the pour stops at the end of a workday or at the end of a panel section. They use either a keyway profile cut into the edge of the first pour or steel dowels embedded to transfer load across the joint. Construction joints are necessary when a driveway is poured in multiple pours, as on larger residential driveways and in most commercial work.
The most-cited rule in concrete joint design is the 2.5 times the slab thickness rule. Control joint spacing should not exceed approximately 2.5 times the slab thickness in feet:
For residential driveways in Denton, the TriStar Built specification is a maximum spacing of 10 to 12 feet in both directions, regardless of slab thickness. We tighten the rule slightly to allow for North Texas clay heave, which adds movement stress beyond the standard shrinkage-only calculation.
A panel's length-to-width ratio matters as much as the absolute spacing. ACI 330R recommends keeping panels as close to square as possible, with a maximum aspect ratio of 1.5:1. A 10-by-15 foot panel is acceptable. A 10-by-20-foot panel is too long and will crack mid-panel before the long joints crack.
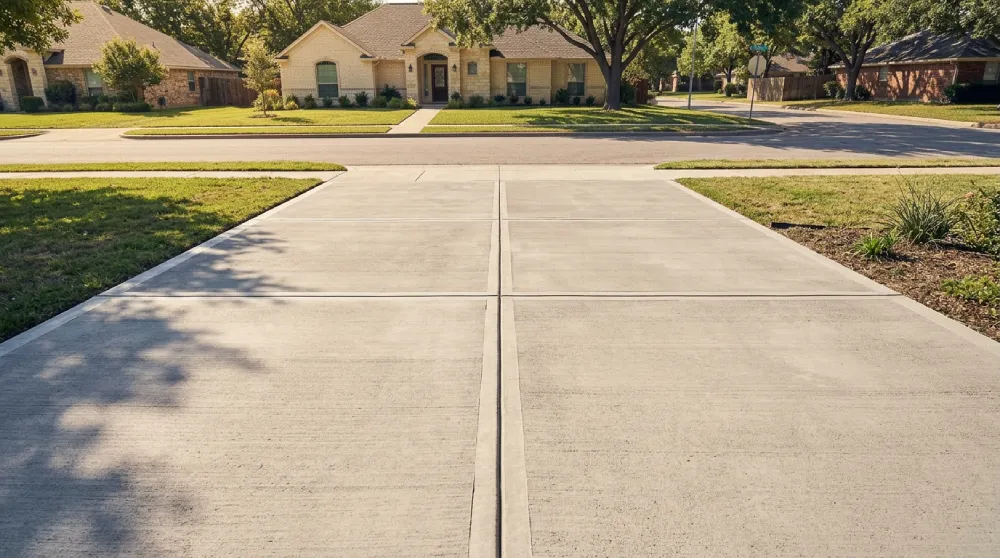
This means on a typical 18-foot-wide Denton driveway, a single joint line down the center creates 9-foot-wide panels. With control joints every 10 feet along the driveway length, the panels are 9 feet by 10 feet, very close to square. That is the layout that produces clean, predictable crack control.
The depth of a control joint determines whether the slab cracks where you want it to or somewhere else. The industry standard is 25 percent of slab thickness:
If the joint is too shallow, the cross-section reduction is insufficient, and the slab cracks elsewhere. If the joint is too deep, the joint can intercept the rebar, reduce structural capacity, and create a corrosion path for steel exposure to moisture and salt.
The 25 percent depth rule is non-negotiable for joints to function correctly. When inspecting a contractor's work the day after sawcutting, you can verify depth with a tape measure dropped into the slot. A 5-inch slab joint should be approximately 1-1/4 inches deep. If the joint is shallower than 1 inch, the joint will not control crack location.
There are two methods to create control joints, and the choice matters.
Sawcut joints are made with a walk-behind concrete saw fitted with a diamond blade, cut into the slab after the concrete has reached early strength (typically 4 to 12 hours after pour for early-entry saws, or 12 to 24 hours for conventional walk-behind saws). The sawcut produces clean, straight lines, consistent depth, and reliable crack control performance.
TriStar Built uses sawcut joints exclusively on residential driveways in Denton. Early-entry sawcutting at the right window (4 to 12 hours after pour, depending on weather and mix) produces clean cuts with minimal raveling.
Tooled joints are formed during finishing using a hand-held jointing tool that presses a V-shaped or radius profile into the still-plastic concrete. Tooled joints work but typically achieve only 50 to 60 percent of the depth that sawcut joints achieve, which reduces their crack-control effectiveness on slabs thicker than 4 inches.
For small slabs (sidewalks, patios, small approaches) under 4 inches thick, tooled joints are acceptable. For a 5-inch or 6-inch residential driveway in Denton, sawcut joints are the right call.
Expansion joints serve a different purpose than control joints, and their placement follows different rules.
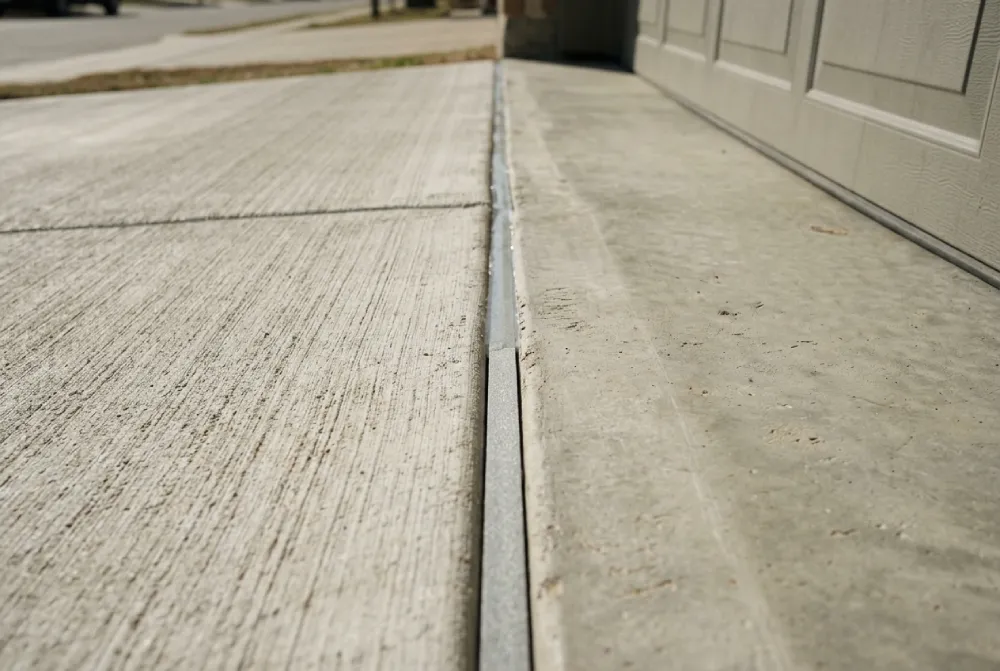
Every isolation point on the driveway should have an expansion joint:
Expansion joints are not used along the length of the driveway to break up long pours. Control joints handle in-slab shrinkage. Adding expansion joints unnecessarily along a driveway run creates more joints to maintain, more failure points, and weaker overall slab performance.
A common Denton driveway mistake is placing expansion joints every 20 feet along the driveway, on the theory that more joints equal less cracking. This is wrong. Excess expansion joints reduce slab continuity, complicate joint maintenance, and degrade aesthetic appearance.
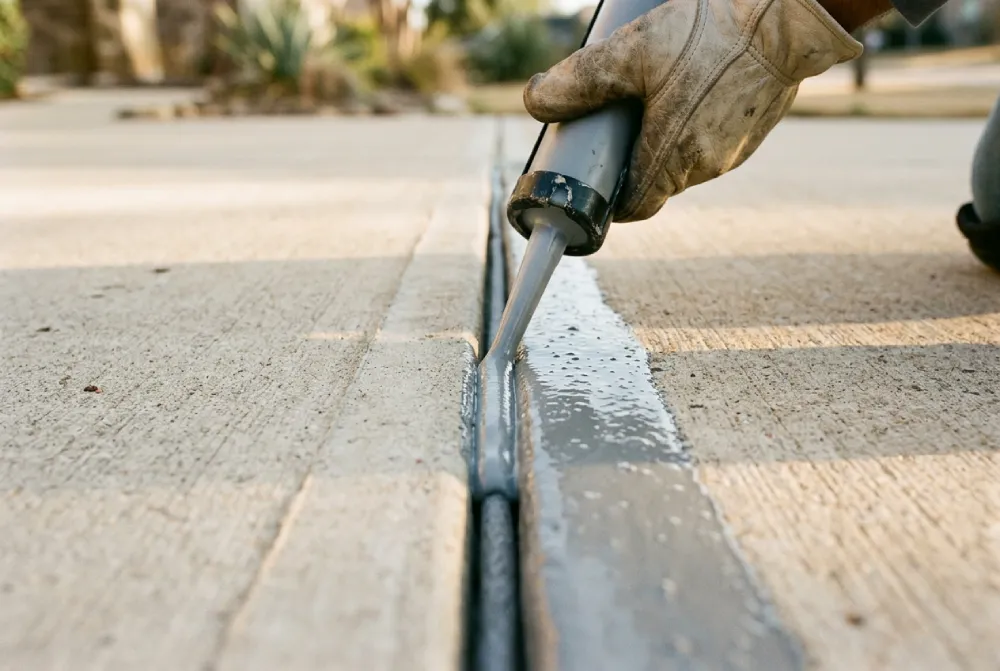
After joints are cut and the slab has cured for the recommended period (typically 14 to 28 days), the joint slot should be cleaned and filled with appropriate sealant. This is one of the most frequently skipped maintenance items on residential driveways in Denton, and it matters more than most homeowners realize.
The joint slot should be filled with:
Properly sealed joints prevent water, soil, and debris from entering the joint slot. Water infiltration into joints is the leading cause of joint deterioration, edge spalling, and freeze-thaw damage in North Texas. Resealing joints every 5 to 7 years is the single most cost-effective maintenance investment a homeowner can make on an existing concrete driveway.
Consider a typical Denton residential driveway: 20 feet wide at the street, narrowing to 18 feet at the garage; 35 feet long; 5 inches thick; with #4 rebar at 16 inches on center. Here is the proper joint layout.
| Joint Element | Location | Type |
| Garage interface | Driveway-to-garage slab | Expansion joint, 1/2 inch foam filler |
| Street interface | Driveway-to-curb | Expansion joint, 1/2 inch foam filler |
| Longitudinal joint | Center line of driveway, full length | Sawcut control joint, 1.25 in deep |
| Cross joint 1 | 11 ft from garage | Sawcut control joint, 1.25 in deep |
| Cross joint 2 | 22 ft from garage | Sawcut control joint, 1.25 in deep |
| Width transition | At narrowing point | Sawcut control joint, full width |
This layout creates panels of approximately 9 feet by 11 feet (3 panels per side of the longitudinal joint, six total panels), each with an aspect ratio close to 1:1.2, well within the 1.5:1 maximum. The cracks that develop over the life of the slab will form directly below the sawcut joints and remain invisible from above.
In our 18 years of pouring in Denton County, the most common joint-related failures on competitor work include:
For Denton residential concrete driveways, control joints should be spaced no more than 10 to 12 feet in both directions. The industry rule is 2.5 times the slab thickness in feet (so 12.5 feet for a 5-inch slab), but the TriStar Built specification tightens this slightly to allow for North Texas clay heave. Panels should be kept as close to square as possible, with a maximum aspect ratio of 1.5:1.
The standard rule is 25% of the slab thickness. For a 4-inch slab, the joint should be 1 inch deep. For a 5-inch slab, 1.25 inches. For a 6-inch slab, 1.5 inches. Shallower joints do not provide enough cross-section reduction to control crack location. Deeper joints risk intercepting reinforcement and creating corrosion paths.
For a small patio or sidewalk under 4 inches thick, tooled joints work fine. For a residential driveway in Denton, at 5 or 6 inches thick, the depth achievable with hand tools is insufficient to reliably control crack location. Sawcut joints are the right call for driveway work.
A control joint (sometimes called a contraction joint) is a planned weak line in the slab that directs shrinkage cracking. The slab is continuous through the joint, but the reduced cross-section ensures the crack forms below the joint surface. An expansion joint (more accurately called an isolation joint) physically separates the slab from a fixed structure with a compressible filler, allowing slab movement without transferring stress to the adjacent structure.
The right window depends on the saw type and the weather. With an early-entry concrete saw, joints can be cut 4 to 12 hours after the pour. With a conventional walk-behind saw, the window is 12 to 24 hours. Cutting too early causes raveling at the joint edges. Cutting too late allows the slab to crack before the joint is in place. Reputable Denton concrete contractors plan the joint cutting carefully against the weather and the mix-design set time.
Yes, ideally. Sealed joints prevent water, soil, and debris from entering the joint slot, thereby extending joint life and reducing edge spalling. The right sealant system is a closed-cell backer rod sized to the joint width, with self-leveling polyurethane sealant on top, tooled flush. Resealing every 5 to 7 years is the standard maintenance interval in Denton's climate.
If the joint cracks below the surface as designed, the slab top remains continuous and clean. If the slab cracks elsewhere (mid-panel, off-joint, in a random line), the joint plan failed. The most common causes are joints spaced too far apart, joints cut too shallow, joints cut too late, or insufficient subgrade preparation. Once a non-joint crack exists, it cannot be repaired to look invisible. The damage is permanent.
Control joints and expansion joints are not optional details on a residential concrete driveway. They are the planning that determines whether the inevitable cracks land invisibly below joint surfaces or wander randomly across the slab face. For a Denton driveway, the right joint pattern is 10 to 12 foot spacing, 25 percent of slab thickness, sawcut after the proper set time, with isolation joints at every fixed boundary.
If you are evaluating a concrete driveway bid in Denton, Argyle, Flower Mound, Highland Village, Corinth, or anywhere across Denton County and want the joint plan drawn out before you sign, TriStar Built is happy to walk through it with you. Call (940) 381-2222 or visit www.tristarbuilt.com.


Whether you’re remodeling a home, expanding a business, or starting from the ground up, TriStar Built is here to guide you every step of the way. With a focus on craftsmanship, communication, and results that last, we make the construction process clear, smooth, and worth every investment.

LOCATION: 2126 James Street, Denton, TX 76205
PHONE: (940) 381-2222
© 2025 TRISTAR BUILT - ALL RIGHTS RESERVED | WEB DESIGN & SEO BY: Authority Solutions®