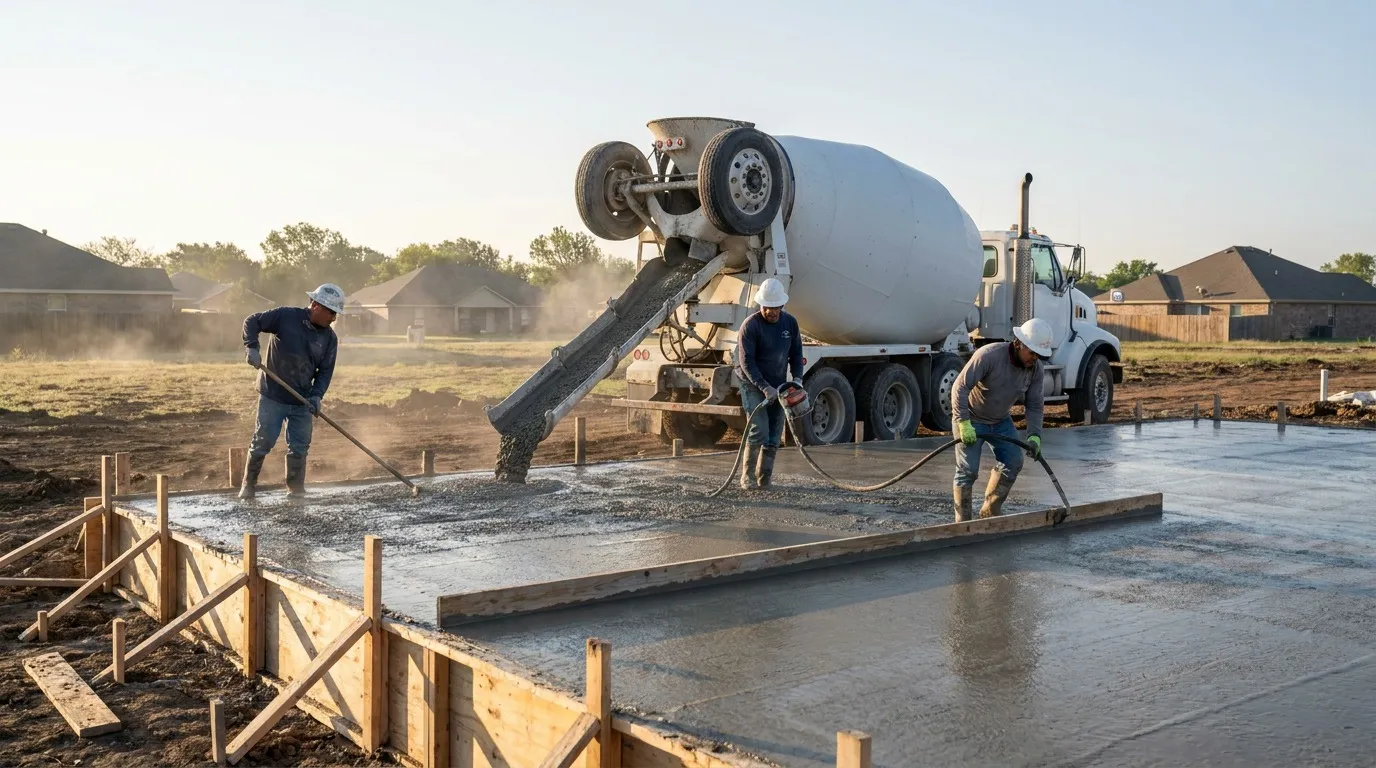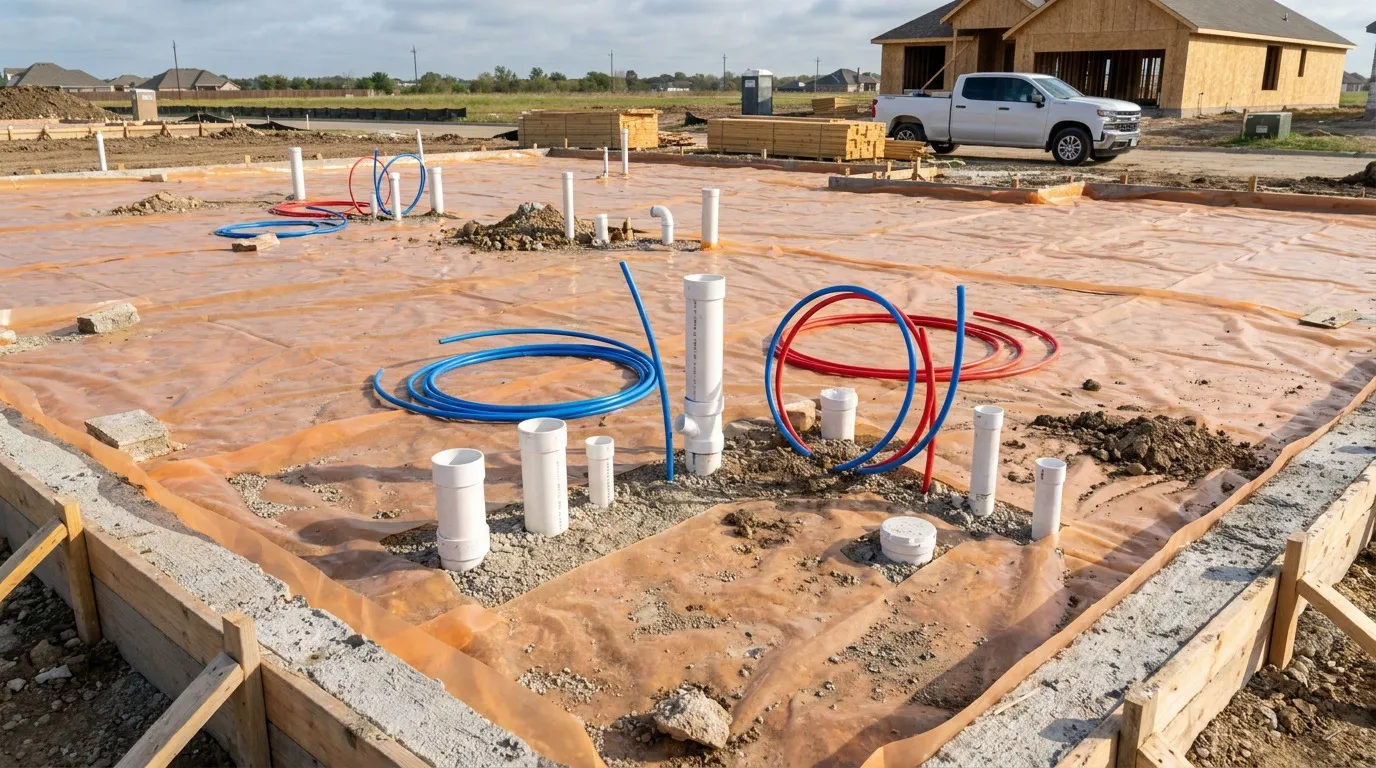
Plumbing rough-in before a slab pour is a coordinated sequence between the foundation contractor and the plumbing subcontractor that happens between vapor barrier placement and rebar tie-off. Every drain line, water supply penetration, and gas line has to be located, sized, sleeved, and secured before the concrete truck arrives. Errors in this phase are the most expensive kind: a missed drain line means chipping open a cured slab, a compressed sleeve means a leaking joint 10 years down the road. Denton residential builds that get plumbing rough-in right invest 2 to 3 hours in a joint pre-pour walkthrough between the foundation and plumbing teams.
The single most common source of foundation-related change orders on Denton residential construction is a plumbing rough-in error that isn't caught until after the pour. A drain line that comes up in the wrong location, a supply line that gets crushed during rebar tie-off, or a penetration that wasn't sleeved and now leaks. These errors cost $2,000 to $12,000 to correct after the fact, and every one of them was preventable.
At TriStar Built, our foundation crews and plumbing subcontractors follow a coordination sequence that catches problems while they're still cheap to fix. This guide walks homeowners, builders, and contractors through what proper under-slab plumbing rough-in coordination looks like in Denton residential construction.
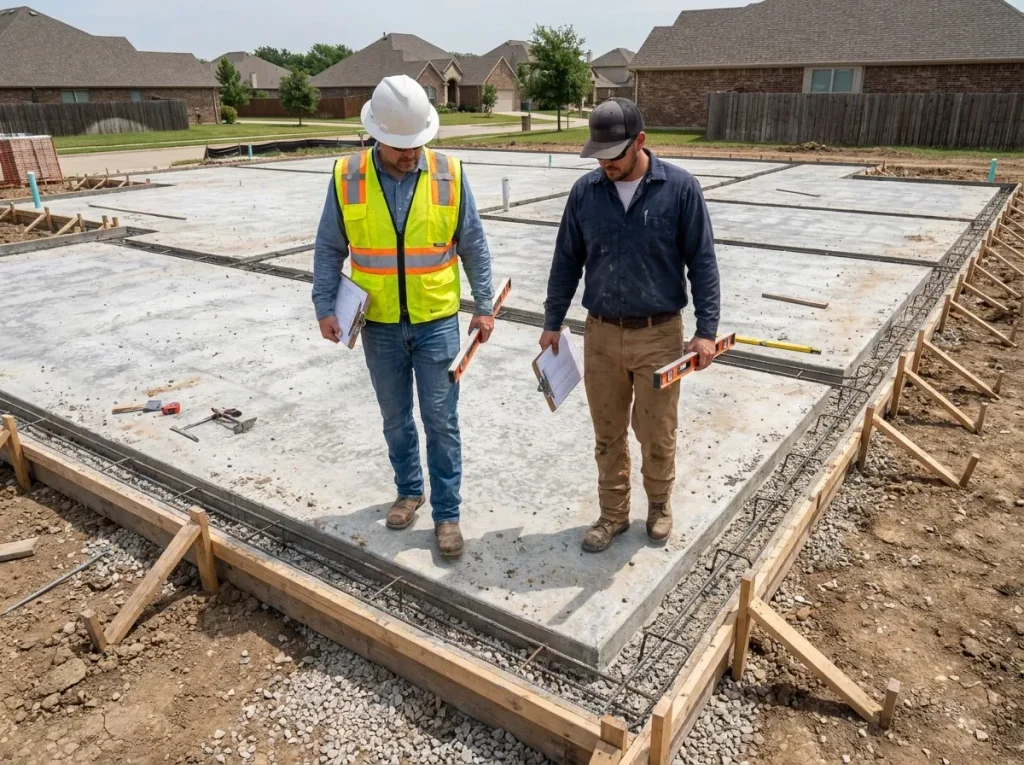
Rough-in coordination for a Denton residential slab follows a predictable sequence, and each stage must be completed before the next begins.
The aggregate base is compacted, forms are set to the design elevation, and initial layout stakes mark the interior wall locations. The foundation team confirms that the plumbing plan has been reviewed and that any conflicts with the structural plan have been flagged.
The vapor barrier goes down before the plumber begins rough-in. This lets the plumber cut penetrations through the barrier as they set piping, rather than trying to cut around finished plumbing later. Our under-slab vapor barrier covers the barrier specifications.
All under-slab drain lines are set to design slope and secured. Water supply lines are routed and terminated at planned stub-up locations. Gas lines, if applicable, are installed to code with proper cover depth. Every penetration through the vapor barrier is boot-flashed. Every stub-up is protected with a temporary cap.
Reinforcement is placed on chairs above the vapor barrier and around the plumbing rough-in. Rebar has to clear the plumbing by 2 to 3 inches minimum; any conflicts are resolved by modifying rebar routing, not by cutting plumbing.
The foundation superintendent and the plumbing foreman walk the entire slab together, verifying each rough-in location against the plan. Every stub-up is checked for correct location, height, and support. Every drain slope is verified with a level. Every sleeve is inspected for integrity.
The city of Denton requires a pre-pour inspection covering both structural and plumbing rough-in. The inspector's approval is documented and dated. Only after this approval does concrete arrive on site.
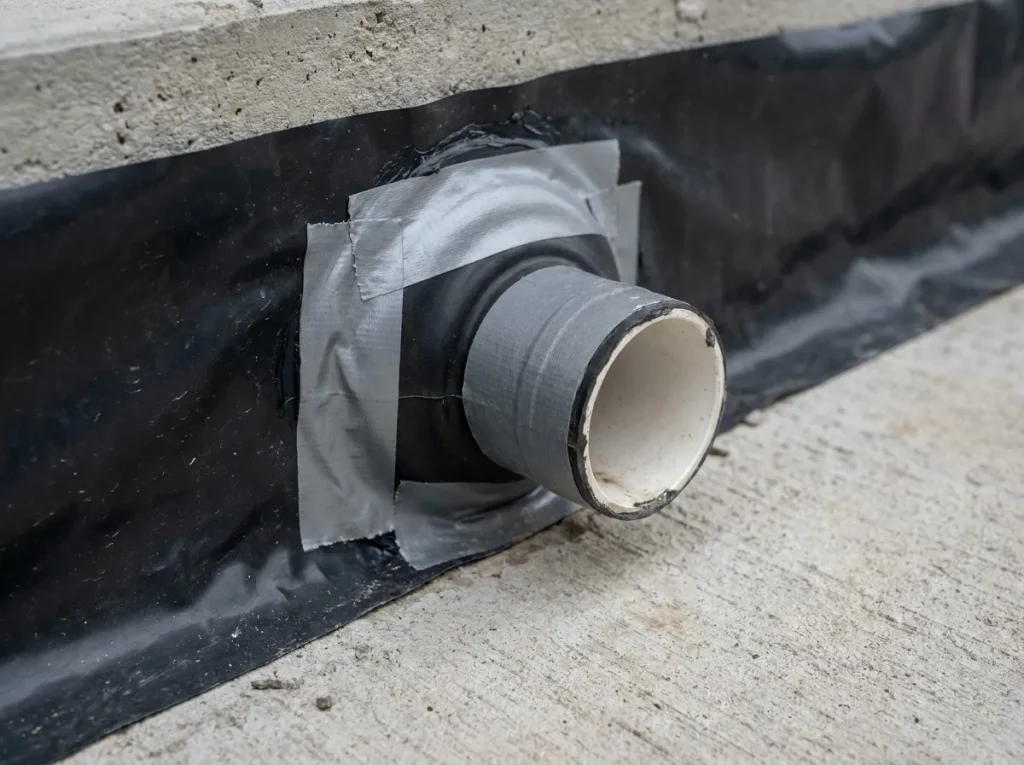
Six technical details separate a rough-in that will hold up for 40 years from one that will cause problems.
Under-slab drain lines require minimum 1/4 inch per foot slope (2 percent) for lines 3 inches or smaller, and 1/8 inch per foot for larger lines. Deviations are a common cause of long-term flow problems.
Every plumbing line passing through the slab needs a sleeve (a larger-diameter pipe surrounding the smaller working pipe) so the working pipe can move slightly with slab movement. Direct concrete contact with a working pipe creates stress points that fail over time.
Water supply lines under a slab should never have mechanical joints (fittings, unions, compression fittings) buried in concrete. Use continuous PEX or copper runs from manifold to stub-up. A joint buried in concrete is a future leak with $8,000 to $20,000 in slab-chipping repair cost.
Every drain line, especially larger 3- and 4-inch lines, has to be positively supported so it doesn't sag during the pour. Sag creates bellies in the drain that hold sewage and cause backups later.
All water supply and drain stub-ups protruding above the slab have to be temporarily capped and reinforced against damage during the concrete finishing operation.
Every under-slab plumbing route should be photographed and diagrammed for the homeowner's records. Ten years later when a homeowner wants to add a wet bar or move a plumbing fixture, this documentation is worth its weight in gold. Coordination is also covered in our foundation site preparation.
Denton has adopted the current cycles of the International Plumbing Code and the International Residential Code, both of which set specific standards for under-slab plumbing. Key requirements include: drain lines minimum 12 inches below finished floor for freeze protection; supply lines routed to prevent damage from expansive soil movement; test pressure applied and held for the pre-pour inspection; and separation between plumbing and structural reinforcement per engineer's plan.
The ICC IRC 2021 foundations chapter document the code requirements in detail. Local Denton amendments to the code are available through the Denton building department; any variance from base code requires documented justification.
The joint pre-pour walkthrough between the foundation contractor and the plumber is the single most valuable quality control activity on the entire foundation project. A thorough walkthrough covers:
Location of every stub-up compared to the mechanical plan (kitchen sink, bathroom sinks, toilets, tubs, showers, laundry, hose bibs). Height of every stub-up above the future finished floor. Support at every stub-up (bracing, chairs, or engineered supports). Slope on every drain segment, verified with a 4-foot level. Sleeve integrity at every penetration. Vapor barrier condition around every plumbing location. Cleanout access locations per code. Gas line pressure test results if applicable.
This walkthrough typically takes 2 to 3 hours on a standard residential foundation and catches problems that would otherwise require destructive concrete removal to fix. Denton contractors who skip or rush this walkthrough are the ones producing the most expensive change orders. For homeowners, asking to see the completed walkthrough checklist is a way to verify quality control before writing the next draw check. Additional vetting guidance is in our hiring a Denton concrete contractor article.
Six errors show up repeatedly on Denton residential construction. All are preventable.
The plumber places a supply or drain stub-up in a location that doesn't match the kitchen or bath cabinet plan. When the cabinets arrive, the plumbing is 8 inches from where it needs to be. Correction after pour: chip a channel through the slab, re-route, patch.
Drain line slope was set on visual estimation rather than measured with a level. Post-pour flow test reveals slow drainage. Correction: chip out affected section and re-route with correct slope.
A supply line was installed without a sleeve, direct against concrete. Ten years later, thermal expansion cycles have worked the pipe against the concrete edge and created a pinhole leak. Correction: pinpoint leak location, chip out, replace section, repour.
The plumber walked or crawled on the vapor barrier with hard-soled boots, tore multiple locations, and no one patched them before rebar went in. Moisture problems show up 3 to 5 years later in flooring damage.
Rebar was placed without leaving proper clearance around plumbing, and the pouring crew "adjusted" rebar by cutting or bending it in the field. Structural integrity is compromised at those points.
Water supply lines weren't pressure-tested before the pour. A joint that would have leaked at test now leaks after the slab is placed and finishing is complete.
Even with good coordination, occasional corrections are unavoidable. For those cases, the honest cost breakdown for Denton homeowners:
| Correction Type | Typical Cost | Time |
|---|---|---|
| Adjust stub-up location within 12 inches | $600 to $1,400 | 1 day |
| Re-route drain line under existing slab | $3,500 to $8,500 | 3 to 5 days |
| Replace buried leaking joint | $6,500 to $18,000 | 4 to 7 days |
| Add a new plumbing rough-in post-pour | $2,500 to $9,000 | 2 to 4 days |
| Repair damaged sleeve | $1,800 to $4,200 | 2 days |
These costs are why the pre-pour walkthrough is worth 3 hours of two people's time. Every one of these corrections could have been prevented for less than $200 in additional inspection labor.
The general contractor is responsible for coordination between subcontractors. If a homeowner is acting as GC, the responsibility falls to them to schedule the joint walkthrough. Reputable Denton foundation contractors will document coordination but ultimately the plumbing scope is on the plumbing sub.
Yes, but at significantly higher cost. Chipping and re-pouring sections of a residential slab typically runs $600 to $1,800 per linear foot of correction. Cheaper alternatives (routing plumbing above the slab, adding a wet bar rather than moving the kitchen sink) should always be explored first.
Minimum 12 inches below finished floor for freeze protection. Deeper is fine for larger runs to maintain proper slope.
Typically PVC sleeves one nominal size larger than the working pipe. For a 1/2 inch supply line, use a 3/4 inch or 1 inch sleeve. The sleeve creates a clearance that allows for slight movement without stress.
Yes. Water supply lines are pressure-tested to 100 PSI for a minimum of 15 minutes with no pressure drop. Drain lines are typically water-column tested for leaks. Test results are documented in the pre-pour inspection.
Any tears should be immediately patched with matching material and manufacturer-approved seam tape. Damage that isn't caught before rebar placement becomes hard to inspect after the pour and can cause moisture issues in the finished home.
The general contractor schedules the sequence and the pre-pour walkthrough. All subcontractors involved (plumbing, electrical if any conduit is buried, HVAC if any duct penetrations exist) should be present at the walkthrough.
Plumbing rough-in coordination is one of those construction phases that feels tedious to schedule and costly to shortcut. Homeowners who understand the sequence, insist on a documented pre-pour walkthrough, and keep the rough-in photos in their construction records are the ones who don't get surprise change orders during cabinet install or years later when a slab has to be chipped for a repair.
TriStar Built has been coordinating foundation and plumbing rough-in on Denton residential construction since 2006. Our foundation crews work directly with qualified plumbing subs across Denton, Argyle, Corinth, Flower Mound, and the surrounding North Texas cities to make sure the sequence runs cleanly. See our foundation and slab services page or schedule a consultation.


Whether you’re remodeling a home, expanding a business, or starting from the ground up, TriStar Built is here to guide you every step of the way. With a focus on craftsmanship, communication, and results that last, we make the construction process clear, smooth, and worth every investment.

LOCATION: 2126 James Street, Denton, TX 76205
PHONE: (940) 381-2222
© 2025 TRISTAR BUILT - ALL RIGHTS RESERVED | WEB DESIGN & SEO BY: Authority Solutions®