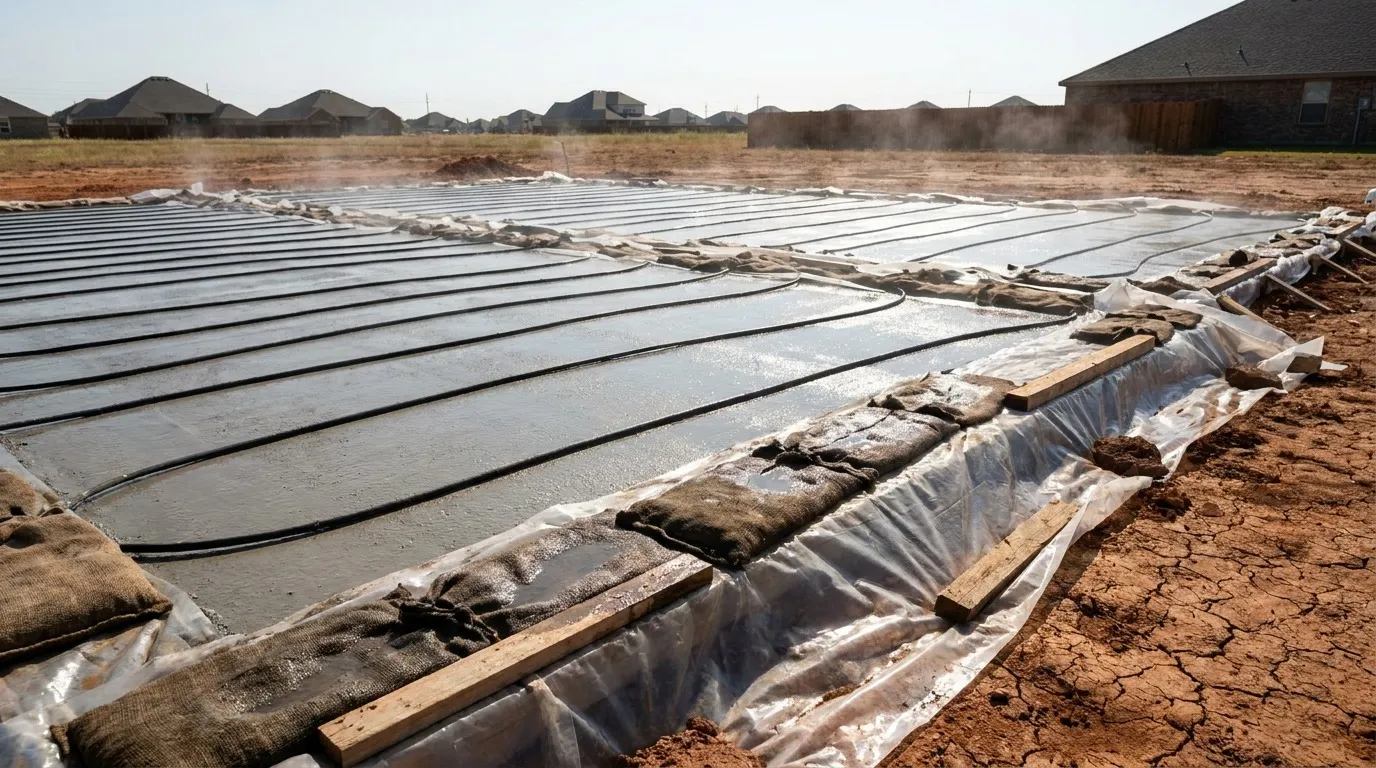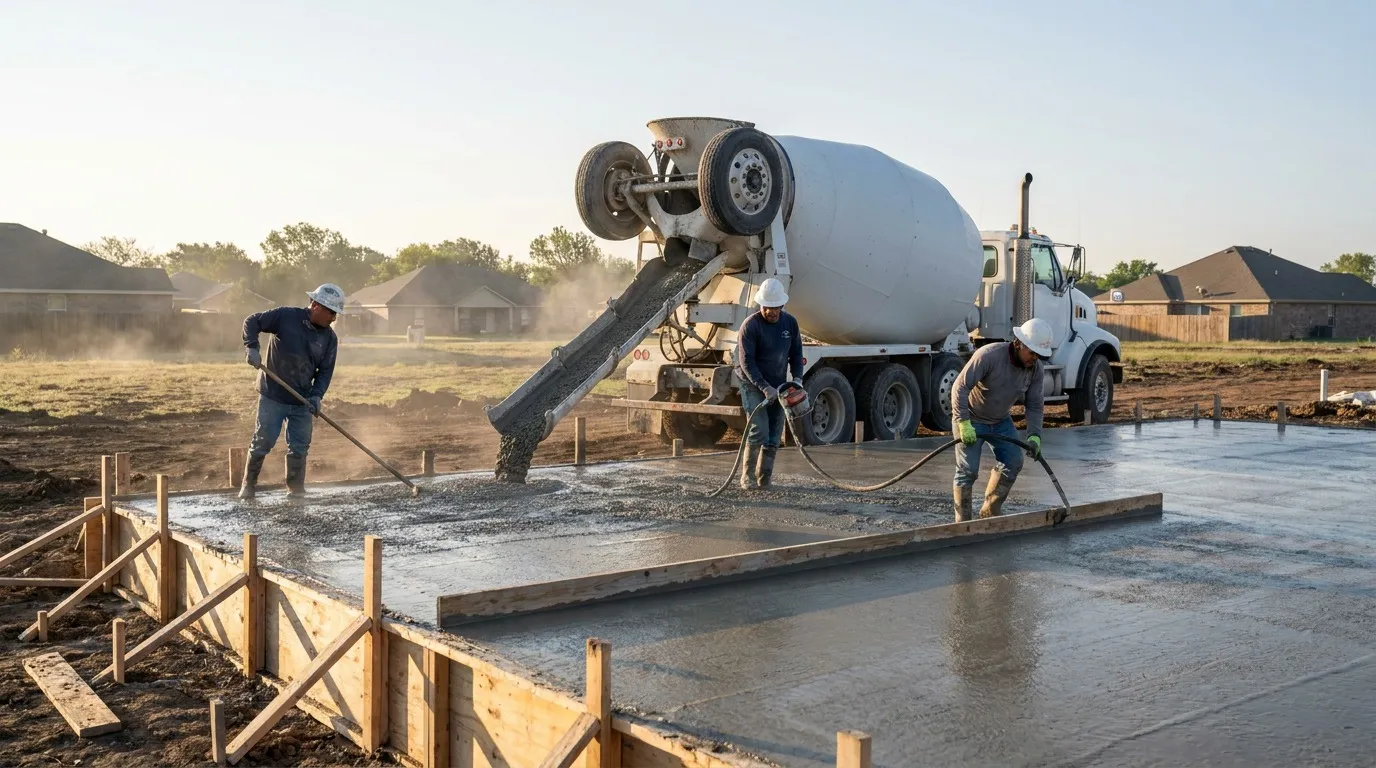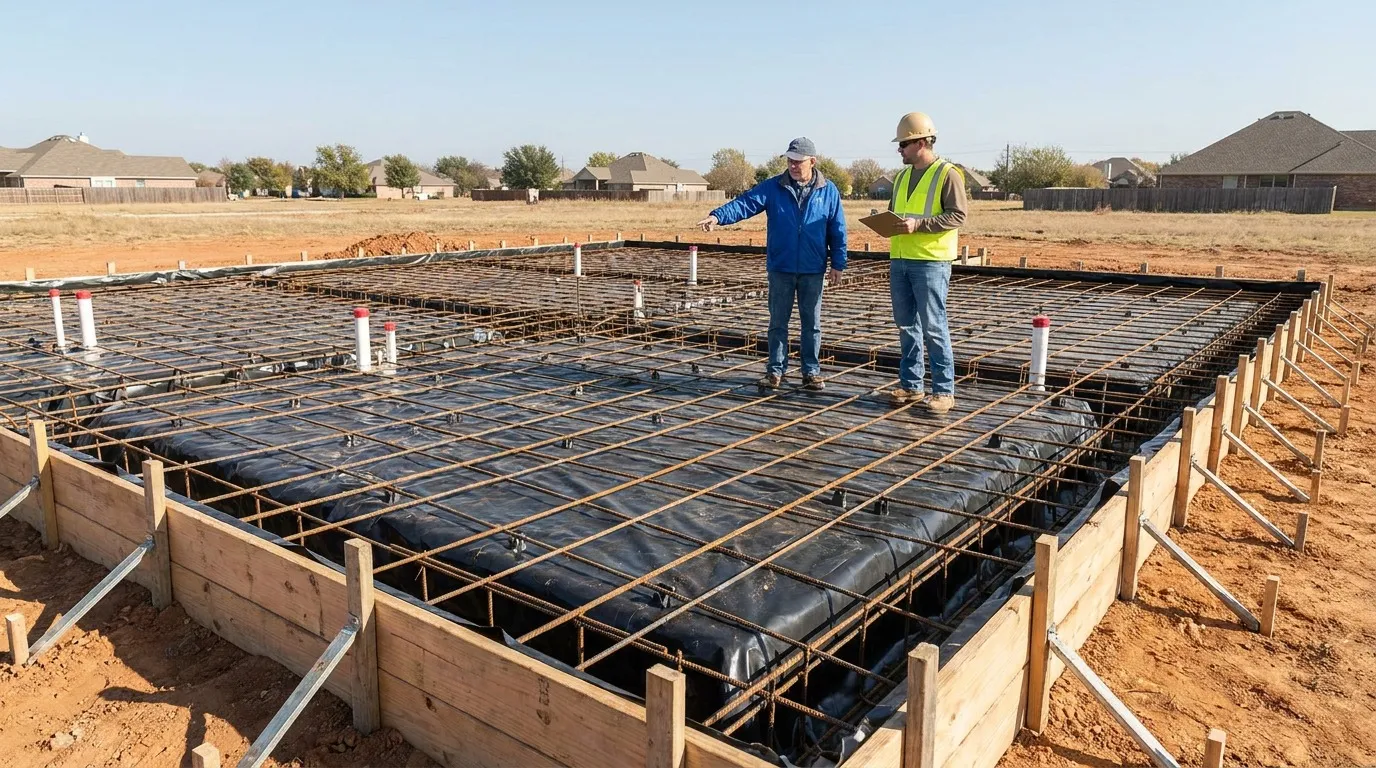
A foundation slab pre-pour inspection is the last chance to catch mistakes before they are buried in concrete for the life of the home. Before the ready-mix truck arrives, a homeowner or third-party inspector should verify form elevation and bracing, grade beam depth and width, rebar or post-tension placement and support, vapor barrier integrity, and every plumbing stub-up against the plan. On a Denton residential slab, this walk takes 60 to 90 minutes and prevents corrections that cost thousands after the pour.
Once concrete is placed, almost every decision made underneath it becomes permanent. A grade beam that was dug too shallow, a rebar mat resting on the dirt instead of on chairs, a torn vapor barrier, a drain stub in the wrong spot: none of these are visible after the finish crew leaves, yet each one shapes how the slab performs for decades on North Texas clay.
That is why the pre-pour inspection matters more than almost any other milestone on a foundation. It is the homeowner's single best opportunity to confirm the work matches the engineered plan while everything is still exposed and cheap to fix. This guide from TriStar Built walks Denton homeowners through exactly what to look at, what "right" looks like, and which items are worth stopping a pour over, because on our clay soils a solid foundation matters more than almost any other part of the build.
Foundation work follows a strict sequence, and the pre-pour inspection sits at the one moment when the entire system is finished but still open to the sky. Before this point, there is nothing complete to inspect. After it, the concrete has locked everything in place. A slab is not a surface you resurface later; it is the structural platform the whole house rides on, and on the expansive clay that runs across Denton County, that platform is doing constant work against soil that swells and shrinks with moisture.
Understanding the full sequence helps. Our overview of the full slab installation sequence shows where inspection falls relative to site prep, forming, reinforcement, and placement. The pre-pour walk should happen after the plumber, the reinforcement crew, and the forming crew have all finished, and before the concrete is scheduled. If a builder wants to pour the same morning the forms are finished, that is a signal to slow down.
Start at the perimeter. The forms define the slab edge, and the interior grade beams define the stiffening ribs that carry the structure across shifting soil.
Walk the entire perimeter form and confirm it is set to a consistent design elevation, braced solidly, and staked at close intervals. Push on the forms; they should not flex or move. A form that bows outward under the pressure of wet concrete produces a thin, weak edge exactly where the slab needs the most strength.
Grade beams are the trenches that will become the deep ribs of the foundation. Measure a few of them against the plan. On many Denton residential slabs, the engineer specifies beams 24 to 36 inches deep depending on soil movement potential. Beams that are too shallow, sloughed-in at the sides, or partly collapsed will not deliver the stiffness the design assumes. If the beams look nothing like the plan, stop and call the engineer.
The bottoms of forms and beams should be free of loose dirt, standing water, mud, and debris. Concrete placed over loose spoil or a puddle does not bond to a solid bearing surface.
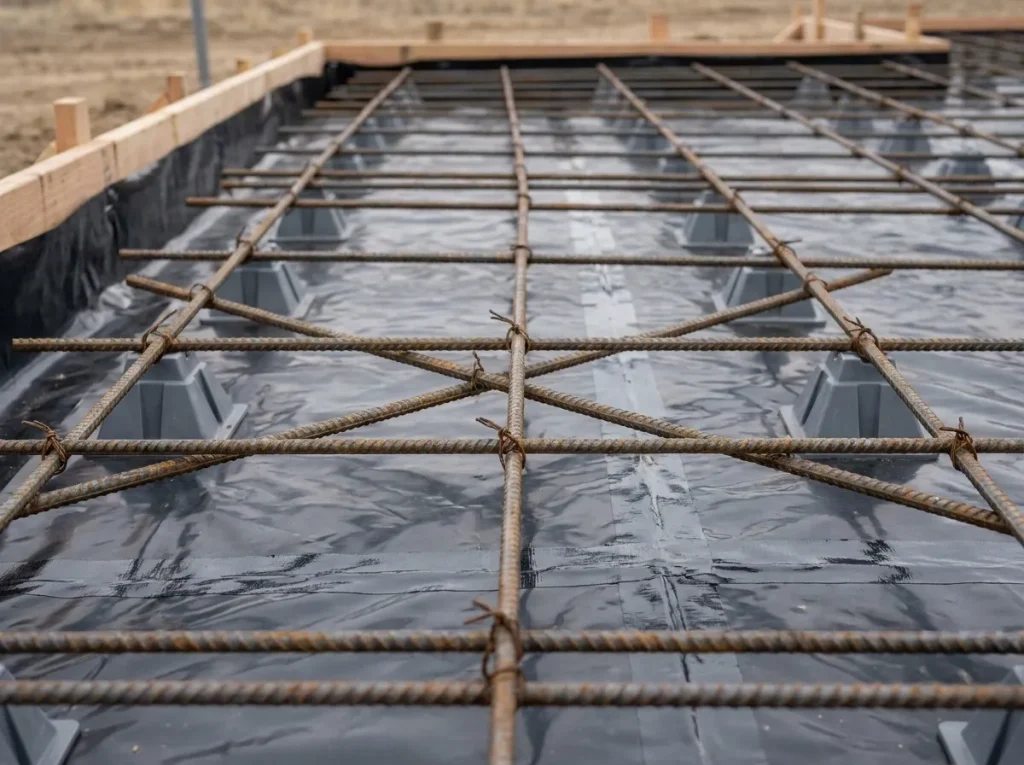
Reinforcement is where slabs are most often shortchanged, because problems here are invisible the moment concrete covers them.
The single most important thing to confirm is that steel is supported off the ground. Rebar mats belong on chairs or dobies so the bars sit within the concrete, not on the soil. Steel lying on the dirt ends up at the bottom of the slab where it provides almost no benefit. Check bar size and spacing against the plan, confirm the bars are tied at intersections, and look for adequate lap where bars overlap.
If the design uses cables instead of bars, the same discipline applies, and the choice itself matters: our comparison of choosing between post-tension and rebar explains when each is specified in North Texas. For post-tension, confirm the cables are on chairs at the correct profile, the sheathing is intact, and the end anchors are positioned and blocked out.
Under a Denton slab, the vapor barrier is what keeps ground moisture from wicking up into the finished floor for the life of the home. It has to be intact before any steel is set on top of it.
Confirm the barrier is continuous across the whole footprint with no gaps, that seams are lapped at least the manufacturer's minimum and taped, and that it turns up at the edges. Look closely for punctures and tears from foot traffic or plumbing work; every one should be patched with matching material. Our guide to the vapor barrier that goes under the slab covers the thickness and lapping specs Denton slabs should meet. A barrier that is shredded, thin, or discontinuous is worth stopping the pour over, because there is no fixing it once concrete is down.
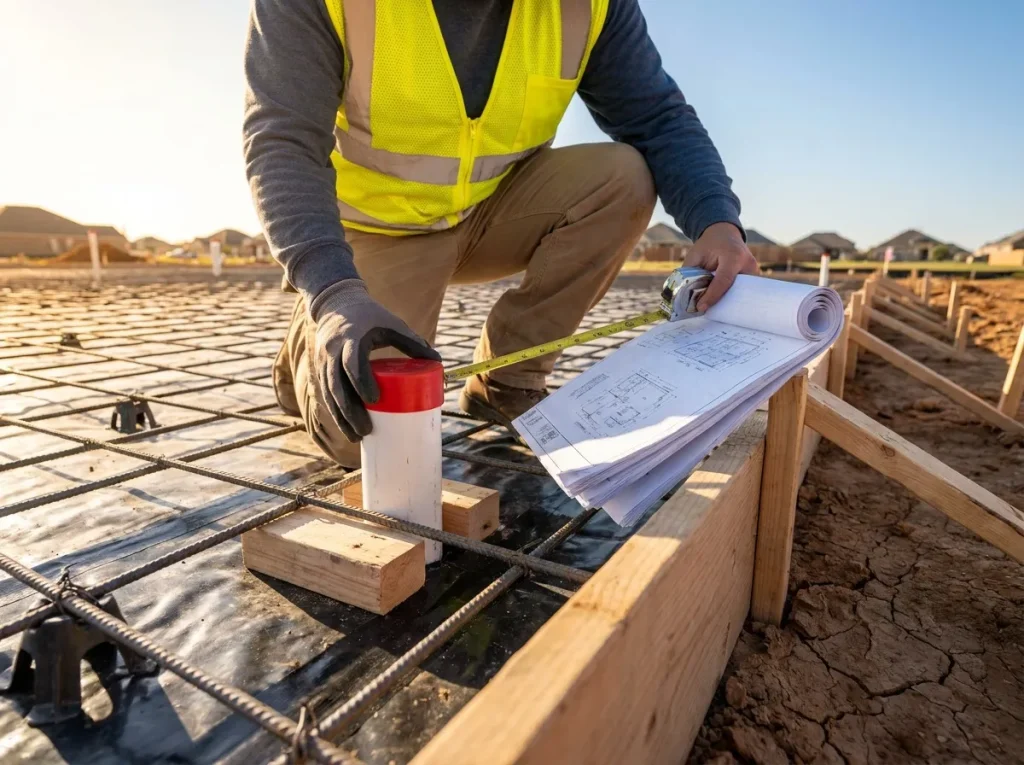
Every under-slab plumbing stub-up is permanent the moment concrete surrounds it. Walk the plan with the stub locations in hand and confirm each one.
| Inspection Item | What to Verify | Why It Matters |
|---|---|---|
| Stub-up location | Matches fixture and cabinet plan within tolerance | Moving a stub after pour means chipping the slab |
| Stub-up height | Correct height above finished floor | Wrong height forces awkward fixture connections |
| Stub-up support | Braced so it will not shift during placement | A stub that moves in wet concrete ends up out of position |
| Penetrations sleeved | Working pipe surrounded by a larger sleeve | Direct concrete contact stresses pipe over time |
| Pressure test | Supply lines tested and holding | A joint that leaks after the pour is a major repair |
The plumbing coordination sequence itself is worth understanding before you get to pour day; see our guide to coordinating the under-slab plumbing. At the inspection, if a stub is clearly in the wrong place or a supply line has not been tested, those are correctable now and painful later.
A homeowner walk is valuable, but it should not be the only check. The City of Denton requires a foundation inspection before the pour, covering forming and reinforcement, and that municipal sign-off is a second independent set of eyes. Homeowners can review the requirements through the Denton building inspections department. For a deeper structural review, the reinforcement and cover standards referenced in the ICC residential foundation code give homeowners a plain baseline for what proper placement looks like.
Between the builder's own quality control, the city inspector, and the homeowner's documented walk, three parties confirm the slab before concrete arrives. Photograph everything: forms, beams, steel on chairs, the vapor barrier, and every stub-up. Those photos are worth keeping for the life of the home.
Homeowners who want a single page to carry to the site can use this short list:
When a homeowner wants a second set of eyes at the pre-pour walk, TriStar Built's concrete foundation and slab work covers the inspection and the pour on Denton residential projects.
After the forms, reinforcement, vapor barrier, and plumbing rough-in are all complete, and before concrete is scheduled to arrive. Ideally there is a full day between the finished setup and the pour so any corrections can be made without rushing.
The city inspection is a real check, but it is focused on code compliance, not on your specific finish plans. Many Denton homeowners building a custom home also hire an independent inspector or ask their structural engineer to review the setup for full peace of mind.
Reinforcement sitting on the ground instead of on chairs is one of the most frequent and most consequential. Steel at the bottom of the slab does very little, so this is always worth checking closely.
On a typical Denton residential slab, a thorough homeowner or third-party walk takes 60 to 90 minutes. Rushing it defeats the purpose, since the whole value is catching small issues before they are permanent.
Yes, and it should be for anything structural: shallow beams, unsupported steel, or a badly damaged vapor barrier. Ready-mix can be rescheduled. A buried defect cannot be undone without breaking concrete.
Absolutely. Photograph the forms, beams, steel, vapor barrier, and plumbing stubs. This documentation protects you if a question ever comes up later and gives you a record of exactly how the foundation was built.
The pre-pour inspection is short, but it protects the most permanent part of the house. A homeowner who walks the forms, measures a few beams, confirms the steel is on chairs, checks the vapor barrier, and verifies every plumbing stub has done more to protect their foundation than any warranty can. On Denton clay, that hour is one of the highest-value hours in the entire build.
TriStar Built has been forming, reinforcing, and pouring residential foundations across Denton, Argyle, Corinth, Flower Mound, and the surrounding North Texas cities since 2006, and we welcome homeowners at the pre-pour walk. To talk through your project or schedule a consultation, call TriStar Built at (940) 381-2222.


Whether you’re remodeling a home, expanding a business, or starting from the ground up, TriStar Built is here to guide you every step of the way. With a focus on craftsmanship, communication, and results that last, we make the construction process clear, smooth, and worth every investment.
LOCATION: 2126 James Street, Denton, TX 76205
PHONE: (940) 381-2222
© 2025 TRISTAR BUILT - ALL RIGHTS RESERVED | WEB DESIGN & SEO BY: Authority Solutions®